Create a vpc Infrastructure and Host a wordpress Application with Mysql & Launch VPC using NAT Gateway for hosting WordPress on AWS
Task 3-
Create a VPC Infrastructure and Host a wordpress Application with Mysql

TASK OBJECTIVES :-
1-Write a Infrastructure as code using terraform, which automatically create a VPC.
2- In that VPC we have to create two subnets: — a) Public subnet b) Private subnet
3- Create a public facing internet gateway for connect our VPC/Network to the internet world and attach this gateway to our vpc.
4- Create a routing table for internet gateway so that insatnce can connect to outside world , update and associate it with public subnet.
5- Launch a EC2 instance which has wordpress setup already having the security group allowing port 80 so that our client can connect to our worddpress site.
6- Launch a EC2 instance which has Mysql setup already with security group allowing port 3306 in private subnet so that our wordpress vm can connect with the same.
TASK IMPLEMENTATION:-
- STEP 1: Specify the Provider
- Provider is used to specify the cloud provider that we are going to use in terraform.Here we are using AWS as a provider.

- STEP 2: Creating key-pairs
- A key pair, consisting of a private key and a public key, is a set of security credentials that you use to prove your identity when connecting to an instance. Amazon EC2 stores the public key, and you store the private key. You use the private key, instead of a password, to securely access your instances.

- STEP 3: Creating a Virtual Private Network
Subnet is for creating your own lab/datacenter in AWS. We have created two subnets , one of them in availability zone ap-south-1a and the other in availability zone ap-south-1b.
Amazon Virtual Private Cloud (Amazon VPC) lets you provision a logically isolated section of the AWS Cloud where you can launch AWS resources in a virtual network that you define. You have complete control over your virtual networking environment, including selection of your own IP address range.

- STEP 4: Creating two Subnets -
- One public and other private. For public subnet map_public_ip_on_launch has to be true and for private, it is false.

- STEP 5: Create an internet gateway
- To ensure that our public subnet connects to the outside world.

- Now we will create our own custom route table to ensure private remains private and public is public.
- And lastly for this network we will associate our route table to our subnet. ( public).

- STEP 6:

- We need two different sets of security groups. The one for wordpress allows ssh and http ports so public client can visit wordpress. But the database of wordpress needs to be stored in MySQL instance which has to be cut from outside world. The only port allowed is the port for MySQL ( 3306) .

- STEP 7: Launch EC2 instances with MySQL and Wordpress setup.


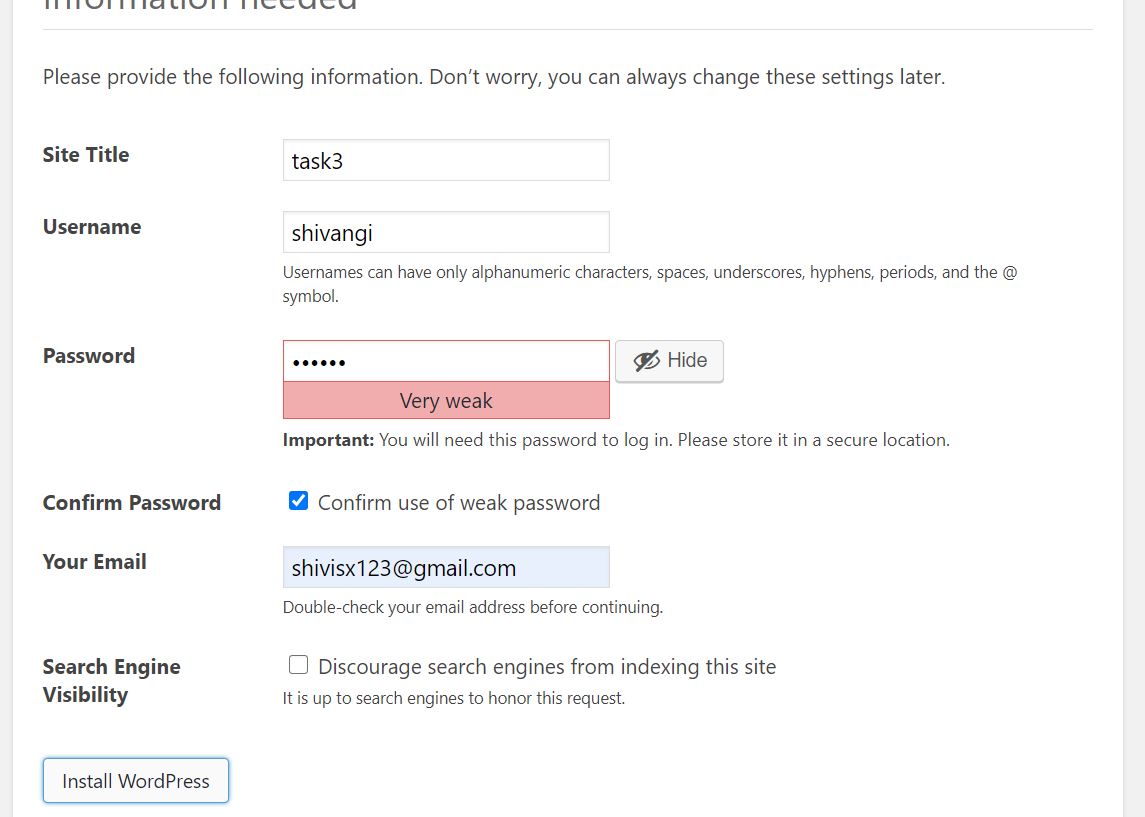
OUTPUT OF TASK-3


TASK - 4

TASK OBJECTIVES: -
- Write a code to create a VPC in AWS and create public as well as private subnet.
- Create a public facing internet gateway and attach it to our VPC.
- Create a routing table for internet gateway so that instance can connect to outside world, update and associate it with public subnet.
- Create a NAT gateway to connect our VPC network to the internet world and attach this gateway to our VPC in the public subnet.
- Update the routing table of private subnet ,so that it can access the internet by using the NAT gateway.
- Launch an EC2 instance which has WordPress setup having security group allowing port 80 for our clients to connect to our WordPress site.Also attach the key to instance and do the same thing with MySQL allowing port 3306.
- WordPress instance has to be a part of public subnet so that our clients can connect to our site. MySQL instance has to be a part of private subnet so that anybody from outside world cannot initiate a connection to our instance.
TASK IMPLEMENTATION: -
In task 4 we will have to first add the same above code as in task-3, and then in this Task 4 we have to use the NAT gateway, and to add the NAT gateway we will be going to use the following code needs to used. This can be created as NAT.tf and used whenever required. But I have created another task4.tf file where I have added NAT gateway with the code of task-3.

Output for TASK-4


Comments
Post a Comment